Your wardrobe, made to measure.
Choose the shape, the dimensions and every detail. The drawing updates as you make your choices. The quote is prepared after we have reviewed the project.
Measurements and type
Enter the measurements and shape of your wardrobe
How to complete this step
In a few minutes you will have your wardrobe drawn up and ready to request a quote. There is no need to be exact: we take the final measurements at your home before anything is made.
- Choose the shape that most closely matches your space.
- Say whether the wardrobe is fitted into an alcove or freestanding.
- Enter the width, height and depth in millimetres (300 cm = 3000 mm). You can also type «240 cm» or «2.4 m».
- Move on to the next step: you can go back whenever you like without losing anything.
Frequently asked questions
- How do I measure?
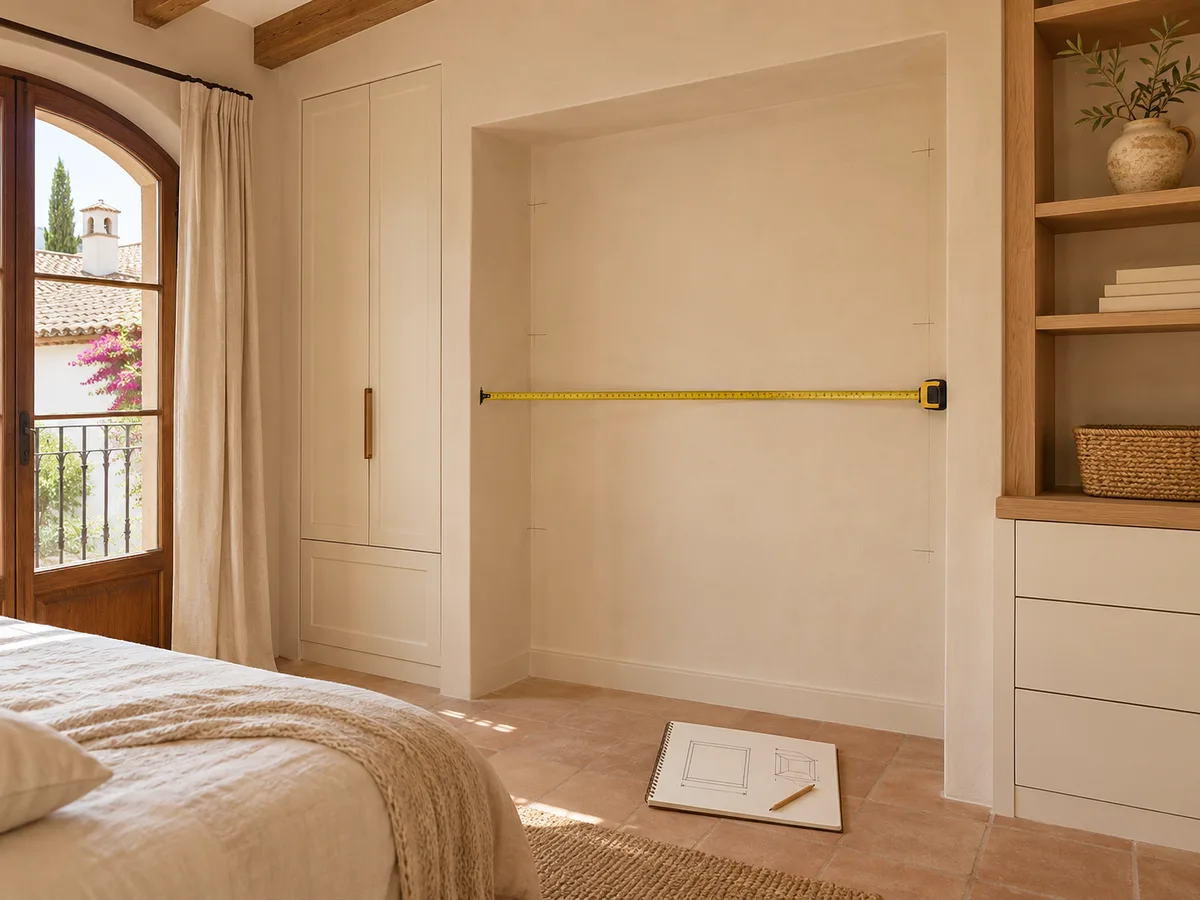
- Measure the width at three points (bottom, middle and top) and the height on the left and on the right, then use the smallest measurement. The depth runs from the back wall to where you want the front of the wardrobe to sit.
- What if I don’t have exact measurements?
- Enter approximate measurements: they are fine for the design and a first idea of cost. We take the final ones at your home, before manufacture.
- Which shape should I choose?
- Straight: along a single wall. Under-stairs or Sloping ceiling: the height changes from one side to the other. Corner / L-shaped or U-shaped: takes up two or three walls. Other shape: you describe it and we look at it with you.
- Fitted or freestanding?
- Fitted: goes between walls; you give the measurements of the alcove and we allow for gaps and trims. Freestanding: the sides are visible; you give the outside measurements of the wardrobe.
- What depth do I need?
- For hanging clothes on hangers, 600 mm is typical. Under the «Depth» field you will see the minimum for hanging with the doors you have chosen.
- How do I enter a sloping ceiling or an under-stairs space?
- Enter the height on the left and on the right, as seen from the front; one of the two can be 0. «Swap sides» switches them over.
These measurements are a starting point. Enter your own or confirm that they match your space.
Measurements
From side to side, along the front. In mm: 300 cm = 3000 mm.
From the floor to the ceiling or to the top of the wardrobe.
From the front to the back wall.To hang clothes with sliding: minimum depth 596 mm.
3 sections · 3,000 mm
Special features (optional)
Example values: change them to your own measurements.
Would you rather we went through it with you? Tell us about your project.
What this tool is, and what it isn't
The configurator is a project notebook in the form of a questionnaire. It isn't a 3D simulator, nor a shop where you press a button and buy: it helps you organise your decisions and pass them clearly on to the person who will be looking at them.
The benefit of configuring a made-to-measure wardrobe this way is that every detail is written down with its unit, with no misunderstandings over the phone. If you're torn between two options, you can note down both and talk them through with the team afterwards. Nothing you tick commits you to anything.
The steps, one by one
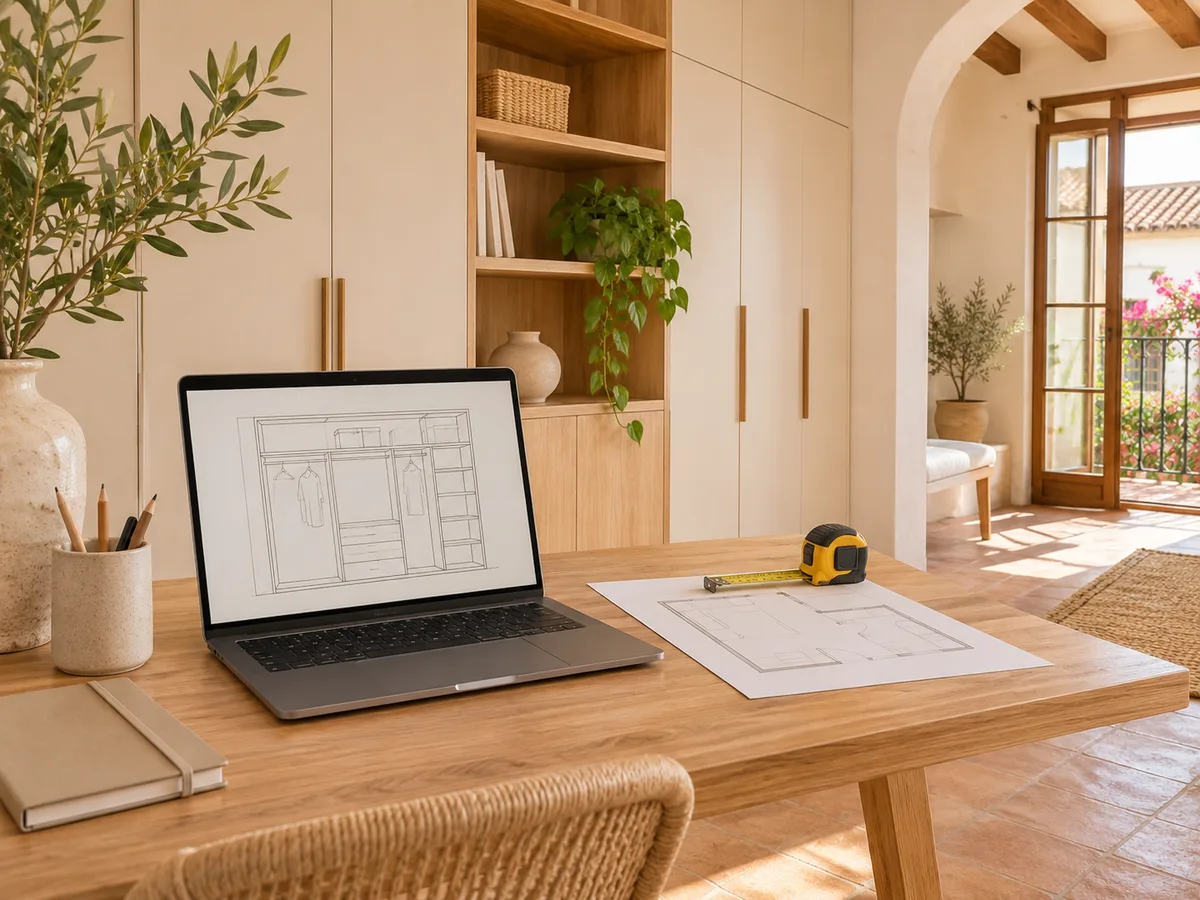
You start by choosing whether you want a fitted wardrobe, a freestanding one or a walk-in wardrobe. Then you give the measurements: the width, height and depth of the space where you want to put it, in centimetres. The third step is the doors, sliding or hinged, with the type of finish that appeals to you most.
Next comes the interior: how many hanging rails, shelves or drawers you need and what you'll store in each area. The last step collects your contact details and, if you like, photos of the space. You can go back and change any answer before sending.
Have you already measured the space?
Send us a photo and the approximate measurements on WhatsApp and we'll give you some initial guidance.
The measurements worth having to hand
- 01
You don't need a floor plan to design your wardrobe online. A tape measure and three readings are enough: the width from wall to wall, the height from floor to ceiling and the depth available. Measure the width at the bottom, the middle and the top, because in many homes in Altea the whitewashed walls aren't perfectly plumb.
- 02
Also note down any obstacles: a radiator, a socket, a beam, the frame of a nearby door. If you're not sure about a figure, write down your best estimate and mark it as approximate. Any difference gets sorted out later, when the real measurements are checked on site.
What happens when you send your configuration
When you finish, the configurator puts together a WhatsApp message with everything you've entered and leaves it ready to send. You read it, tweak it if you wish and send it yourself. Nothing is sent unless you press send.
With that information, the team prepares a guide price, which reaches you through the same channel within 24 hours of receiving your configuration with the measurements. It's a first figure so you know the ballpark you're in. The final quote is drawn up after measuring up at your home.
Why the screen doesn't show a price in Altea
A wardrobe depends on decisions that an automatic calculation can't see: whether the sides need adjusting to an uneven wall, whether the interior has drawers or just hanging rails, whether access to the property makes installation more complicated. A figure printed on screen would look exact, and it wouldn't be.
That's why you receive it from a person who has seen your full configuration. That way the estimate is based on your real details, and you can ask why one option costs more than another, something no form will ever explain to you.
When another route is better
The configurator works well for straight wardrobes, wall-to-wall ones and simple walk-in wardrobes. If your space has sloping ceilings, a staircase or unusual shapes, some steps may fall short. In that case, describe the space in your own words in the last field and attach photos.
You can also skip the configurator and write directly from the request a quote page, or see how the whole process works in how we work. Both routes lead to the same place.
After the estimate: measuring visit and manufacture
- 01
If the ballpark suits you, the next step is to arrange a measuring visit, which costs €50 if you end up not ordering the wardrobe and is free if you do. With the dimensions taken at your home, the fixed quote is drawn up.
- 02
Making the wardrobe takes 2 to 3 weeks on average. Installation is arranged separately, depending on both sides' availability and the features of your home.
Questions
Frequently asked questions about wardrobes in Altea
Do I have to fill in every step?
No. The essentials are the type of wardrobe, the measurements and a way to contact you. The doors and interior help to fine-tune things, but you can leave them half-finished and discuss them afterwards on WhatsApp.
Can I configure more than one wardrobe?
Yes. Send one configuration for each piece, for example one for the bedroom and one for the hallway. That way each estimate fits its own space and the measurements don't get mixed up.
Does the configurator save my project?
What matters is the WhatsApp message generated at the end. If you want to keep your design, save that message and any photos you attach, and pull them up whenever you want to pick the conversation back up.
Does it work for a wardrobe in a country house or a finca?
Yes, as long as you can give the measurements and the approximate address, including the town. If access is difficult, mention it in the last step so it can be taken into account when planning.
Your idea is the first step.
Would you like us to go over your wardrobe with you? Tell us what you need and we'll agree the details during the visit.
If you've already put your design together, use "Send project via WhatsApp" in the configurator to share your selections.